How to Convert OneNote to JPG/PNG on Mac?

Amelia James
August 10th, 2026
Introdution: During exam preparation, students look for ways to retain important information. Those who prefer visual learning can convert OneNote to JPG images to make studying easier. Read the blog post carefully till the end. Here, we have outlined the best possible methods to achieve this conversion. Many users express concerns about the lack of manual method for bulk conversions. For this, we have explained a professional MacSonik OneNote Converter Tool. And, for basic and simple conversions, manual methods are listed.
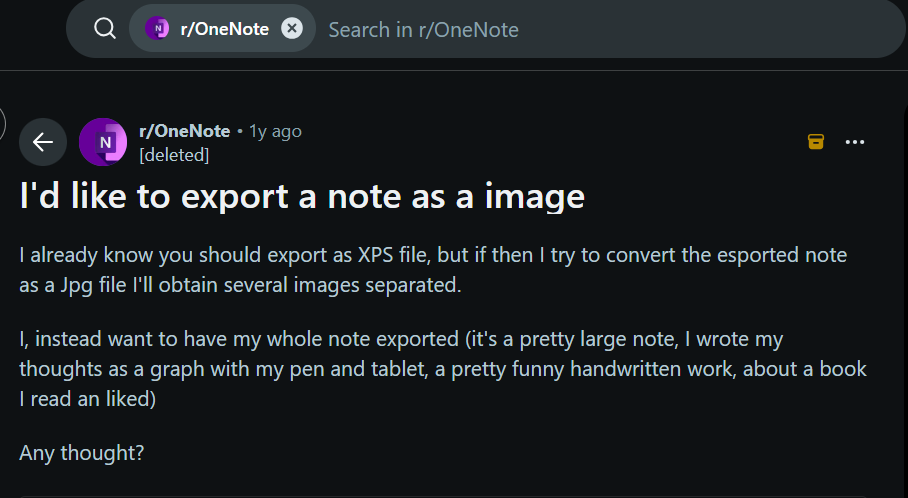
While managing multiple user queries, we found this one query that has been asked multiple times. Let’s proceed with the blog and resolve this user query.
Key Advantages of Converting OneNote to JPG
Here are the key advantages why users transform OneNote to JPG format. Take a look:
- Once the OneNote files are converted to JPG, they can be shared with anyone through different platforms.
- JPG is a universal image format. Converting OneNote pages to JPG files can be viewed on any device.
- Conversion from OneNote to JPG will keep the original page layout intact.
- After saving the file as JPG, users get offline access to the notes. They can open the JPG image anytime.
- The JPG files are compressed image files. This makes them easy to share and bulk save the converted OneNote pages.
How to Convert OneNote to JPG/PNG On Mac?
There are two ways to convert the OneNote pages. First is the manual methods that convert OneNote file to JPG free of cost.
Manually Export to OneNote as JPG by Taking a Screenshot
This is an instant way to export your OneNote pages to JPG format. It allows users to capture any section of the OneNote page.
The following are the steps to begin the process
- First, open the OneNote page that contains the desired sections that you want to capture.
- Now, adjust the section so that it fits the screen.
- Then, press Command+Shift+4. Drag and select the portion of the screen.
- Automatically, a screenshot will be saved to your Desktop as a PNG file.
- Moreover, to convert the file into JPG, open the PNG image in the Preview app.
- Next, click on File > Export > JPG > Save.
Save OneNote as JPG Manually On Mac
In this method, the original layout and formatting of your OneNote pages are preserved. It uses the Preview application, which is built in on Mac.
Follow the steps carefully to start the conversion
- To start with, open the OneNote page you wish to convert.
- Then, press File > Print and choose the PDF format from the dropdown.
- After that, choose Save as PDF and pick a destination location to store the file. Hit Save to convert OneNote file to PDF.
- Next, open the PDF in the Preview app and click on File > Export.
- Choose JPEG, adjust the image quality, and hit the Save button.
Direct Solution to Convert OneNote to JPG/PNG on Mac
With the help of the automated MacSonik OneNote Converter, users can effortlessly convert OneNote files to JPG. The tool supports converting multiple OneNorte files simultaneously like you can convert OneNote to EXCEL and other formats. Additionally, it ensures complete data integrity and no attachment loss. Moreover, the tool maintains the original folder structure, ensuring a smooth and error-free conversion.
Simple steps to convert Microsoft OneNote to JPG
- Start by opening the MacSonik OneNote Converter after downloading it.
- Then, click on Continue to move ahead.
- Next, press the Select Files button to upload your OneNote file.
- After that, locate and open the desired file. Then, click Next.
- Now, preview the data and select JPG as the saving File Format.
- At the end, click on the Convert button to finalize.
Conclusion
To sum up, this blog has rightfully explained how to convert OneNote to JPG format on Mac. The automated MacSonik OneNote Converter is the best tool because of its rich set of features and smooth functionality. While there are no manual options that directly convert OneNote pages to JPG files, an indirect way is possible. But to directly convert your OneNote pages in bulk to JPG, use the automated tool. You can also try out the demo version to convert OneNote file to JPG online for free.
Frequently Asked Questions
Ans: You can convert OneNote pages to JPG using a dedicated MacSonik OneNote Converter. Simply upload your OneNote file, preview the notes, choose JPG as the output format, and export.
Ans: No, you don’t need OneNote installed if you use a professional MacSonik OneNote Converter. The tool works independently and supports direct file uploads.
About The Author:
Amelia is the mistress of the webmail clients like Office 365, Gmail, Yahoo, Hotmail, and Opera Mail. Her research on downloading emails from webmail is outstanding. She has given the solution to download emails from webmail clients to a Mac device with all the mailbox items. She’s been into webmail solutions since 2010. In her free time, she reads books and writes technical blogs.
Related Post